
Wow, this is going to be boring…the humble screwdriver, much maligned and used for many different things such as opening paint tins rather than its intended purpose of turning screws to fasten or loosen them. When it comes to cameras and their maintenance or repair, the screwdriver is going to be one of the tools you use most of all, it will be a physical extension of you. Screwdrivers are not all the same and neither are the screws and their associated heads. There are many different types used on many different vintage cameras. It is essential to use the right tools, and the wrong screwdriver used to remove a stubborn screw can ruin a camera in an instant.
The first thing to recognise is that there are generally only two types of screws used on photographic equipment, especially cameras. The easily recognised straight blade for slotted head screws and the not so easily recognised JIS cross point. The JIS cross point blade is a Japanese standardised form of a Phillips head, albeit shallower with a more pointed slot. It is widely used by the Japanese camera industry, but it is not the same as a plain vanilla Philips. A Phillips screwdriver may fit, but not fully, and any torque applied could very well make the bit skate (cam) out and wreck the head of the screw. A Philips blade is cross shaped comprising 4 major splines, the Pozidriv is a variation with an additional 4 smaller trianguler splines forming a star shape, this deinfintely will strip a JIS head if used and too much force applied. It simply will not engage properly with a JIS cross head screw due to the extra triangular splines, and will at best mar the aesthetic look of your pride and joy as it churns the head into a metalic mess. Thankfully outside of using the right size screwdriver tip there is little to go wrong with using a JIS cross head screwdriver. The same cannot be said for the older straight blade screwdriver and associated screws,
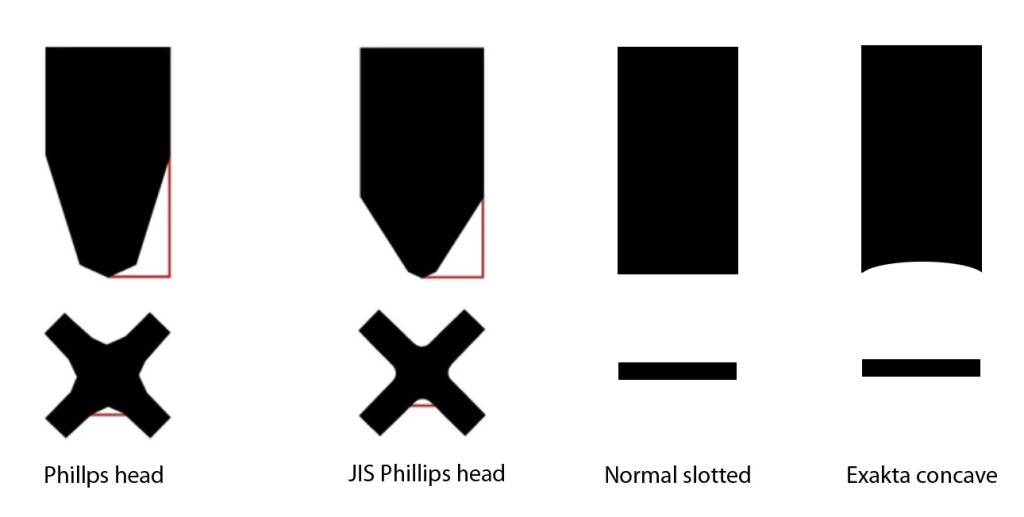
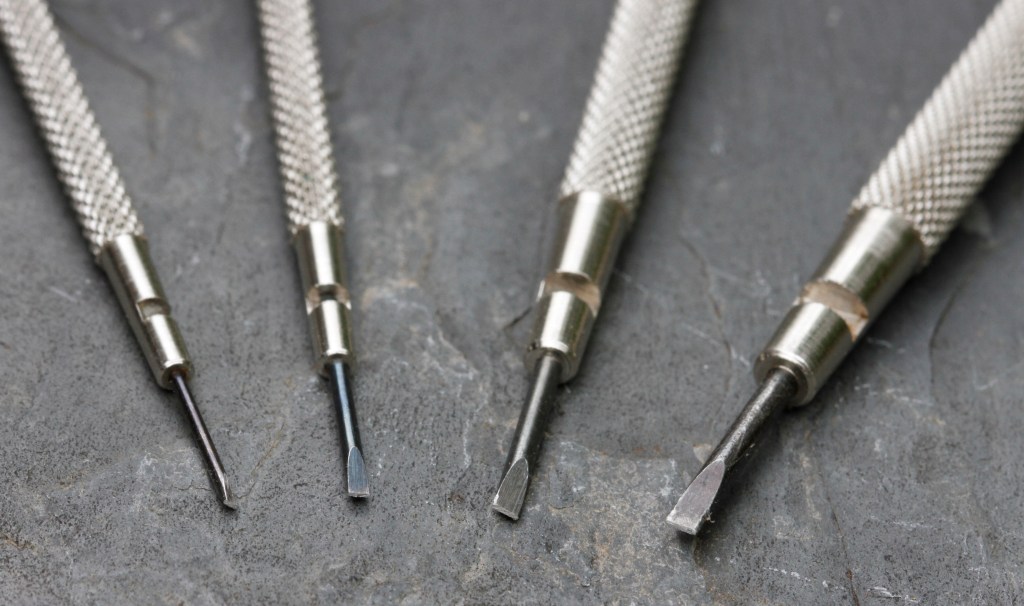
When it comes to slotted screws there are many different slot widths and head diameters, the screwdriver tip must fit accurately to reduce and hopefully eliminate the risk of the blade camming out of the slot under torque, burring the slot edge, and making the extraction of the screw more problematical. This is in addition to the risk of the driver also skating over the surface of the camera body and scratching the chrome or paint and ruining the finish. If a driver does not fit properly it will need to be ground with an oilstone to ensure correct fit and then polished ideally with a diamond lapping block. Despite the name these are not expensive and can be bought for under £20 here in the UK. I cannot stress this process enough, and you will end up with lots of drivers for specific camera brands…keep them separate and do not mix them. Exacta cameras are a prime example, where not only do you need to ensure the correct fit for slot width and screw head diameter but the blade tip is also concave. Yes, it has a curve in it, and using a standard flat blade will very likely end up ruining the screw head and not removing it.
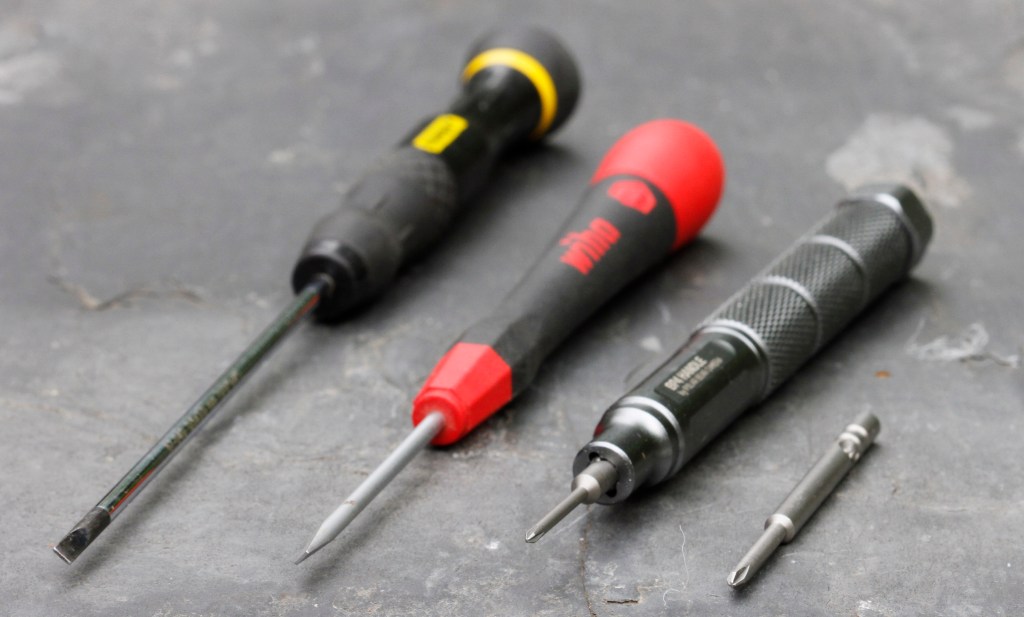
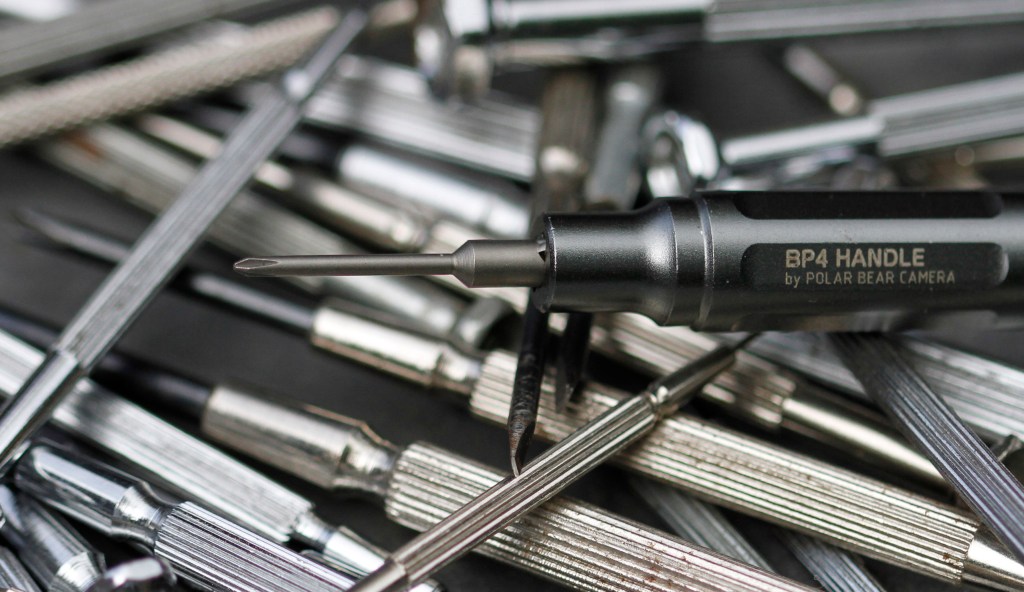
It is probably worth mentioning quality at this point. Cheap jewellers screwdriver sets sold in cases have their place but not for anything requiring precision, they are cheap for a reason. A good quality set of precision drivers from the likes of Wiha will not be cheap but will repay you in ease of use by their contoured grip, Vessel is also another option to name but two. Starret make some nice high quality jewellers drivers but they are not cheap. There are also replaceable blade drivers with comfortable handles and premium drivers from the likes of Bergeon and Horotec, known throughout the horological world, but they also have a price tag to match. Whatever you go for, ensure the driver is comfortable to grip and use and the blade tip is high quality. Also note the shaft length can be short, medium or long in length. I rarely need the long length except for releasing the screws holding the shutter assembly of Zeiss Ikon Contaflex SLR’s. These happen to be buried deep inside the mirror box and are best reached with a longer driver.
In general screws for metal tend to be metric with regards to the thread pitch and diameter, but not the head size or countersink angle, they can also be brass, stainless steel, plain steel or chrome plated brass, and it is here that you may need to be a bit creative in order to get the size and and finish you require, more of this later. Screws for wooden cameras are generally brass and can be of all shapes and sizes, often with the head slots all aligned in one direction, such is the attention to detail on some of these antique masterpieces.
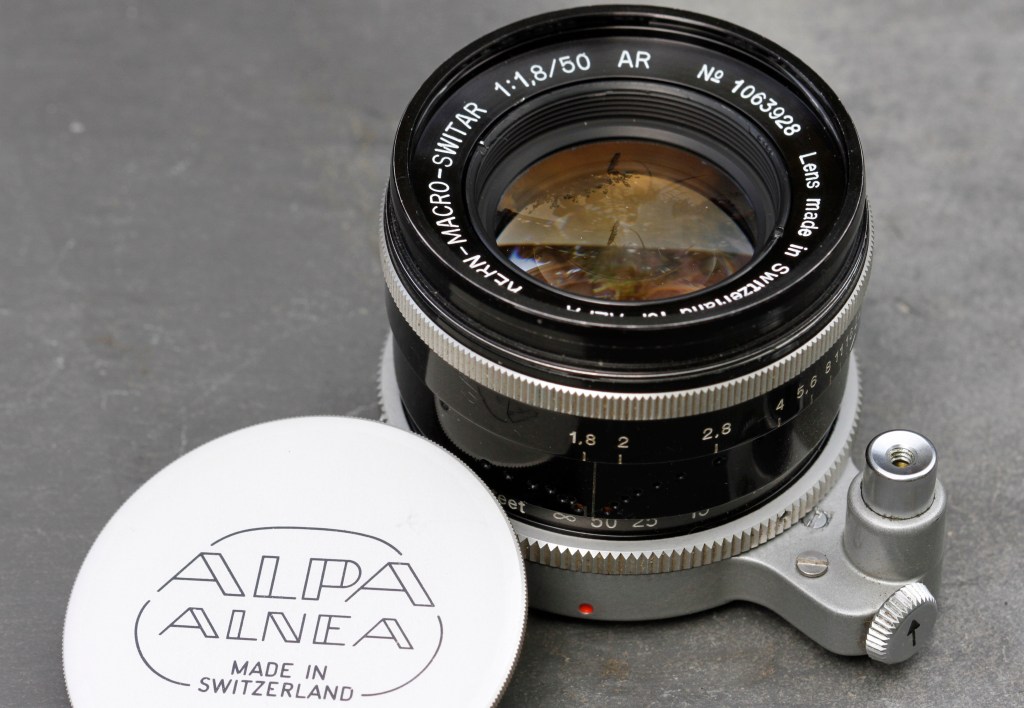
An example of getting creative to ensure correct screw head dimensions was a recent example of a poorly serviced 50mm f1.8 Kern Macro Switar lens, which had one of the screws surrounding the aperture stop down and shutter release severely gouged form bad technique. This lens is particular to Alpa cameras, and Alpa parts are rarer that the actual cameras they pertain too. Spare parts when they do crop up attract silly prices, even for small items such as screws. For Alpa the thread and diameter is metric but the head is proprietry hand made Alpa. I supplanted a stainless steel screw of the right thread pitch, ground the head to size and polished it to a mirror finish resembling the original chrome. All this to maintain the original finish and aesthics of the lens, but it’s worth it bearing in mind the cost of such an optic.
You will also need to bear in mind that screws are very often sealed with shellac or a thread lock of some sort. This will need to be softened and also removed if dripped over the head as a means to secure it in place. This must be done before any attempt at removing the screw and to ensure that the least amount of force is applied in order for the screw to be extracted. Too much force / torque can strip a head or snap of the head completely, you then have a far bigger problem to overcome. Ensure any remaining debris is cleared from the head before trying to loosen the screw. Any remaining debris will cause the driver to not fully seat in the slot and subsequently skate out under torque, not what you want. Work slowly and carefully, feel the tension in the screw and get to realise when the resistance is too great. It may be that in addition to solvent, heat from a soldering iron tip may also need to be applied locally to the screw head in order to loosen a securely captive screw.
Finally there is a correct way to use a screwdriver. It must be perpendicular / vertical to the screw and firm but not excessive pressure applied to secure the blade in the screw head. To repeat what has been stated before, a slow application of increasing torque should see the screw release, feel the screw through the driver and if it does not move and release easily, do not force it. Try again with a solvent and possibly heat to clear any remaining sealing shellac or thread lock.
This may all sound very over the top until you strip a screw head and ruin the finish on a pristine camera at the same time, definitely not what you want.
You have been warned !

Leave a comment